You mean we're actually growing things here? Amazingly enough all that prep work eventually leads us to real live plants. Growing from seed has its advantages - it's by far the least expensive method and gives you complete control throughout the life cycle. My five year plan definitely involves starting my own seeds, and maybe even harvesting my own for some varieties, but we're starting small here remember. Buying seedlings is far more foolproof.
And here's where I get to pimp my local Master Gardeners. I'll let them explain who the heck they are for themselves, from the American Horticultural Society website where you can find your own local program:
The Master Gardener program, conducted throughout the United States and Canada, is a two-part educational effort, in which avid gardeners are provided many hours of intense home horticulture training, and in return they "pay back" local university extension agents through volunteerism. Master Gardeners assist with garden lectures, exhibits, demonstrations, school and community gardening, phone diagnostic service, research, and many other projects.
I get a monthly e-newsletter from my local Master Gardeners program with all kinds of tips and tricks, and a schedule of workshops and classes which are mostly free. But by far the best thing they do is their annual plant sale. The seedlings are $3 each, which is a decent price to start with, and the proceeds all go back into the MG program. There are all kinds of different fun varieties available, the MGs themselves swarm the place with advice and answers, there are other vendors with all kinds of neat plants & garden products, and the day is filled with seminars and demos and more knowledge than you could hope to absorb.
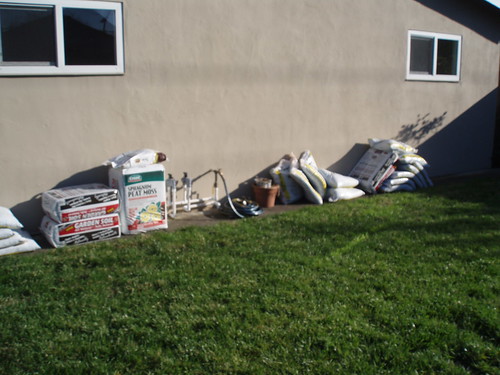
Tomatoes and peppers especially don't like cold ground, so I kept these seedlings right up next to the house for the couple weeks they were home, and brought them in the garage the couple nights we got near frost. I checked their moisture level nearly daily as they can dry up quickly with their small size, and watered them more than once a day during our heat wave of 90 degree + temps (Yes, the frost and record highs were within two weeks of each other. While I'm making baby steps, global climate change is catching up). They hung on bravely, but started loosing their patience.
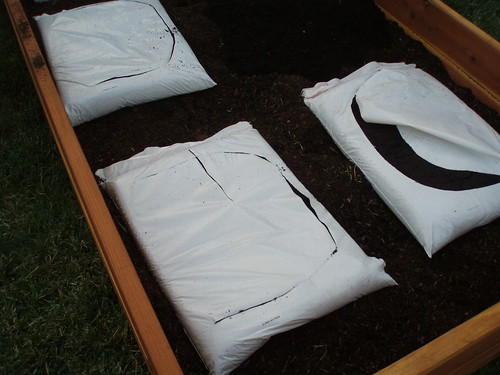
The whole idea of Square Foot Gardening is to plant things in square feet, instead of rows - it's a very complicated fancy name. If a plant is to be spaced 12" apart in a row, you would instead plant one in every square foot. If the spacing is 6" apart, you would plant 4 per square foot, and so on and so forth. Indeterminate (viney) tomatoes can be planted one per square foot; determinate (bushy, the kind you can grow in containers) one per 2 square ft.
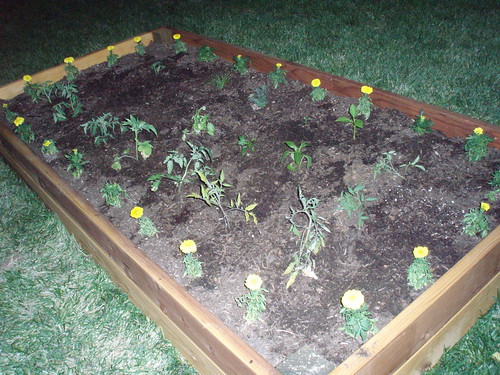
So, you're supposed to lay down this grid of wood or twine or something so you know where these square feet are, but did you see my pretty stained redwood box?! Well check this out - marigolds are an organic gardener's best friend. The yellow flowers are a natural repellent to all kinds of bugs, and they make a pretty little border. By planting a marigold every 12" around the border of my bed, I can roughly eyeball a square foot grid. Two birds, meet this one stone. Brilliant. You might notice in the picture at top that I couldn't bring myself to actually line everything up with the marigolds in exact square feet. It just looked so crowded, I couldn't imagine picking tomatoes off the grown vines. It's pretty close though; baby steps.

As for the actual planting, I did nothing fancy. I've got plenty of fertility in the soil, none needed in each hole. I just broke up the roots a bit and stuck 'em in. Tomatoes can use as many roots as they can get, and don't actually need much leaves, so I plant them deep, as much as 2/3 of the stem underground. Prick off the leaves you're burying and those stems will turn into especially nutrient-grabby roots. This picture is rather horrible (taking photos of dirt on dirt in the fading light isn't as easy as it sounds), but gives you a general idea.
When it warms up some more, I'll be mulching the whole bed with a few inches of extra compost, but for now I dare say we're done. Time to sit back and wait for late summer magic.
Seedlings:
Tomatoes: I went for a wide variety here, but heavy on paste tomatoes that can be canned
Paste - Sunset's Red Horizon (2), Mamma Mia (2)
Beefsteak - Ernie's Round, Mariana's Peace
Strawberry - Orange Russian
Cherry - Sugary
Green - Spear's Tennesse Green
Peppers: Gypsys are smaller and thinner than bells, the hot peppers will be used for salsa
Sweet - Gypsy (2)
Hot - Anaheim, Serrano
Lemon cucumbers: cute and yummy and fantastic for snacking, salads, or pickling
Herbs:
Sweet basil
Cilantro
Garlic chives
Italian oregano: after planting I figured out this is a perennial; it may move to the flower beds in the fall
Materials & Cost
Planting took about one hour, and involved only a trowel. Most of the peppers and tomatoes were purchased at the Master Gardener's sale, and a lot of the rest was purchased from other vendors at the event. I picked up a couple things elsewhere and even got a couple tomatoes as gifts, but my rough total is $45.00 plus $11.00 for marigolds (I'd file this as pest control rather than seedlings). I'm not proud to say a number of seedlings fell victim to my black thumb just waiting to be planted; the cilantro that made it into the ground was no less than my third. This is an additional dimwit cost of about $16.00, and a recurring theme I need to get a handle on (you may remember tomato canning involved a similar dimwit fee, when I got so burnt out I never got around to preserving the peppers and basil I had bought as well). Remember seedlings are the only real recurring cost of the whole project, so I have to harvest about 23 lbs to break even assuming an average farmer's market price of $2/lb for local, organic produce. Stay tuned.